
When baking, it’s more than likely that you’ll use some form of flour.
In doing so, on rare occasions, the recipe will require or suggests that you sift your flour. Although it seems like an ancient art, sifting flour isn’t that obsolete, especially in our kitchen!
After a scare of choosing not to sift our cornmeal, one night we discovered a few live mealworms squirming around in the dry ingredients and so in the trash, they went. The same thing happened with flour a couple of weeks later, and we trashed that too. Don’t think we didn’t feel a bit of guilt about the way we handled it, but the fear outweighed the guilt and so now we SIFT, no matter what! And, believe us, it DOES make a difference; in the texture, ease of mixing, and fear reduction of live mealworms squirming in your cookie batter or what have you.
Why and When you should Sift
Although it was much more common to sift many moons ago due to debris from husks, bugs, seeds, and other things straight from the farm and processing (not so technologically advanced as today’s factories), sifting has become less required and more of a preference. Sifting of flour introduces air into your batter, creating a lighter batter that’s easier to mix and results in fluffier baked goods. So, if you like angel food cake and textures like such, then sifting is going to become a thing in your kitchen as it has for us. It’s not uncommon for some recipes to also suggest that you sift ALL of your dry ingredients (flour, baking soda/powder, cocoa, etc.), which helps to evenly distribute the ingredients before mixing your wet ingredients (egg, extract(s), oil, milk, etc.). Also, sifting comes in handy for using powdered sugar to put the final touches on things like funnel cake, doughnuts, and muffins.
How and With what should you Sift
 So if the recipe you’re about to try calls for sifting OR you’ve decided to commit to sifting for better quality baked goods, then here’s the best way!
FIRST and foremost, ensure the phrasing and determine which route to take.
1. # cups of flour, sifted = Spoon the flour into your measuring cup, level with a knife to properly measure your flour, then sift and use that same amount of flour in your recipe.
2. # cups of sifted flour = Sift more flour than you’ll need into a bowl, spoon the flour into your measuring cup, level with a knife to properly measure your flour, and use that in your recipe.
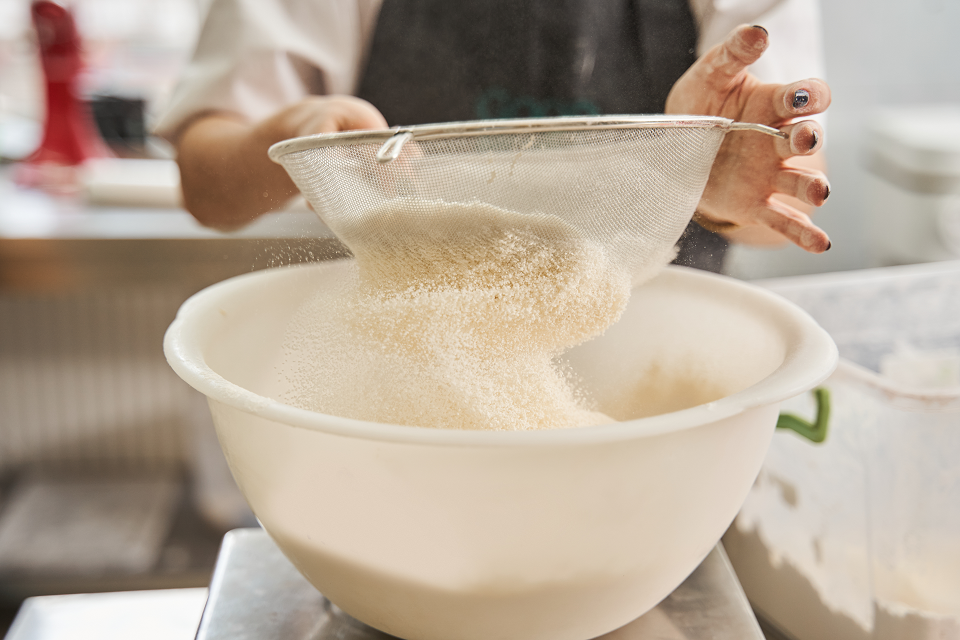
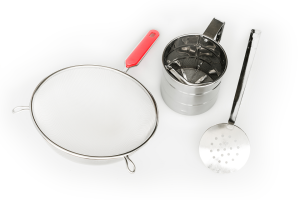
There are a few ways to sift flour or dry ingredients for your recipe including using a sieve, fine-mesh strainer, specialized sifter, or worst-case scenario a whisk! When using a wire whisk, you can still aerate the flour or dry ingredients by simply whisking for about a minute. Using a sieve or fine-mesh strainer, you’ll need to hold the tool with one hand over a larger bowl (to reduce the mess), slowly pour your dry ingredient(s) into the sifter, and gently tap the sides (or crank the side handle; depending on which kind you have) until all clumps are gone and contents have streamed through.
Check out a quick tutorial below!
Are you a sifter? If so, what’s your reason? If not, are you interested in doing so, now?
Happy Baking!!!